

Use QR codes to Link Digital Marketing to Your In-Person Efforts
January 9, 2024
Essential Branding for Farms, Ranches, and Small Food Brands
February 28, 2024A Guide to Navigating New Email Sender Requirements

If you send marketing emails to current and prospective customers, you’re going to want to keep reading! And if you don’t, click here to learn about the power of email marketing.
Starting February 1st, Google and Yahoo will enforce new requirements for bulk email senders, which Google defines as “anyone who sends more than 5,000 emails to Google addresses in one day.” These requirements have long been considered best practices, so there’s a good chance you already have these steps in place! If you don’t adhere to these requirements, you’ll risk having your emails be either completely rejected or sent directly to your recipients’ spam folders—resulting in a loss of your time, money, and opportunity to reach your customers through a critical marketing channel.
In this blog post, we'll walk you through the three new requirements and the steps you need to take to ensure your messages continue to reach your audience.
1. Set Up Email Authentication for Your Domain
Email authentication is a way to prove that an email is actually coming from the listed address. Without proper email authentication, it’s possible for a spammer to send a mass email using your email address as the sender. This could not only cause a major security threat, but would also be highly detrimental to both your brand trust and to your ability to send emails in the future.
If you send emails using an email service provider like MailChimp or Drip, you will want to authenticate your sender email address by adding three specific records to your domain. The location where you add these records depends on your DNS provider.
Helpful articles for editing DNS records with common hosting providers
Amazon Web Services
Bluehost Bluerock
Bluehost Legacy
Dreamhost
GoDaddy
Google Domains
Hostgator
Hover
IONOS
Namecheap
Squarespace
Stablehost
Wordpress
Siteground
Wix
Helpful articles for different email service providers
Active Campaign
AWeber
Benchmark Email
Campaign Monitor
Constant Contact
ConvertKit
Drip
HubSpot
Klaviyo
Mailchimp
MailerLite
Moosend
SendGrid
The three records you want to ensure are set up with your domain are Sender Policy Framework (SPF), DomainKeys Identified Mail (DKIM), and Domain-based Message Authentication, Reporting and Conformance (DMARC).
Sender Policy Framework (SPF) allows a domain owner to name which hosts and/or IP addresses are allowed to send emails on behalf of the domain. This helps prevent spammers from being able to send messages that appear to be from your domain. SPF records are added as DNS TXT records for your domain.
To set up the record:
- Generate an SPF record. If you don’t know how to generate one, there are several SPF wizards online like this one provided by EasyDMARC. You can also check to see if your domain’s SPF record is already set up by using an SPF checker.
- Add the record to your domain provider. Go to your domain's DNS management settings (this could be your domain registrar, hosting provider, or DNS service (examples might include GoDaddy, bluehost, Hostinger, and more). Add a new TXT record with the SPF information.
- Verify setup. Use an online SPF checker to see that the SPF was properly configured.
DomainKeys Identified Mail (DKIM) adds a digital signature to the header of outgoing email, which verifies the message was sent by an authorized sender and wasn’t tampered with along the way. DKIM records are added as DNS TXT records for your domain.
To set up the record:
- Generate the DKIM Keys. Navigate to your email service provider to locate your unique DKIM keys. These details will most likely be found in your account’s settings, and specifically in your email domain’s settings.
- Add the record to your domain provider. Add a new TXT record and enter the DKIM record details provided by your email service provider.
- Verify setup. Use an online DKIM checker to verify the DKIM record was properly configured.
Domain-based Message Authentication, Reporting and Conformance (DMARC) helps domain owners specify which actions to take when an email fails authentication. It also enables reporting on email authentication results. DMARC records are added as DNS TXT records for your domain.
To set up the record:
- Determine your DMARC Policy. The new Yahoo and Gmail rules require a minimum policy of “NONE,” which only monitors emails that fail SPF and DKIM checks. If an email fails these checks, they are either "quarantined" (place in spam/junk folder), or "rejected" (reject the email). To determine your DMARC policy, you’ll first want to ensure that your DKIM and SPF records are authenticated, and that your domain is verified.
- Generate a DMARC record. The basic structure of a DMARC record is:
-
- v=DMARC1; p=none; rua=mailto:[email protected]; ruf=mailto:your email.com
- Replace [email protected] with the email address where you want to receive DMARC reports. (Note: RUA and RUF tags are optional. You do not have to include your email address if you don't want to receive these reports.)
- Use the p= tag to specify your DMARC policy (e.g., none, quarantine, or reject).
- Use rua= to specify the email address where aggregate reports (summary reports) should be sent.
- Use ruf= to specify the email address where forensic reports (detailed reports) should be sent.
- You can include additional tags based on your requirements. For example, sp= to specify the policy for subdomains.
-
- Publish the record to your domain provider. Add a new TXT record and enter the DMARC record details you created in step 2.
- Verify setup. Use an online DMARC checker like the ones provided by EasyDMARC and MxToolbox to verify the record is properly configured.
2. Maintain Low Spam Rates
Google states that bulk senders must keep their reported spam rate in Google Postmaster Tools below 0.10% and to “avoid ever reaching 0.30% or higher.”
Unlike the first requirement, this is not a once-and-done step to take! Rather, it’s a push to improve your email marketing strategy in order to lower the chances of your outgoing messages being marked as spam by recipients. Although adhering to this requirement isn’t completely in your control, there are several strategies you can implement to help your spam rate stay low:
Enable Double Opt-In
A double opt-in subscription process adds an extra layer of confirmation and validation, ensuring that the email address the subscriber provided is valid and that they genuinely want to receive emails from your organization. The process generally goes like this:
- A subscriber provides their email address to subscribe to your email list.
- The subscriber receives a confirmation email.
- To complete the subscription, the subscriber confirms their intent by clicking a button or link in the email.
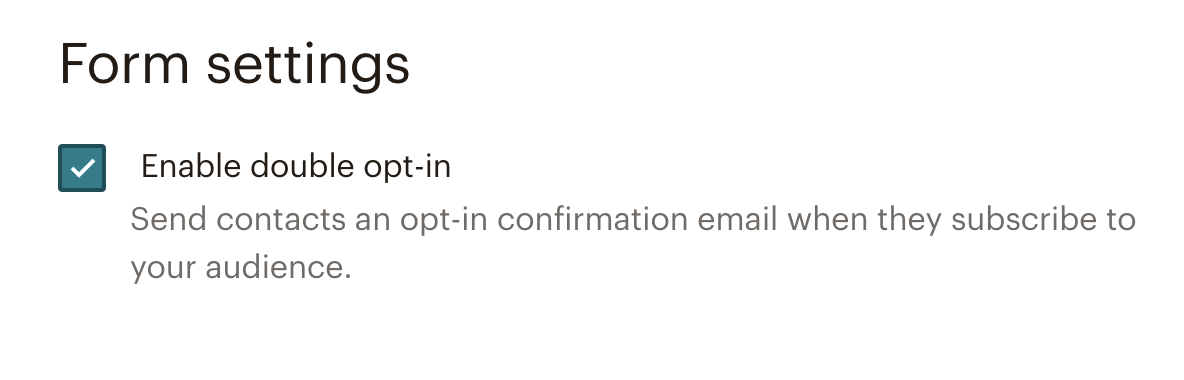
Mailchimp allows you to enable double opt-in under an audience’s form settings
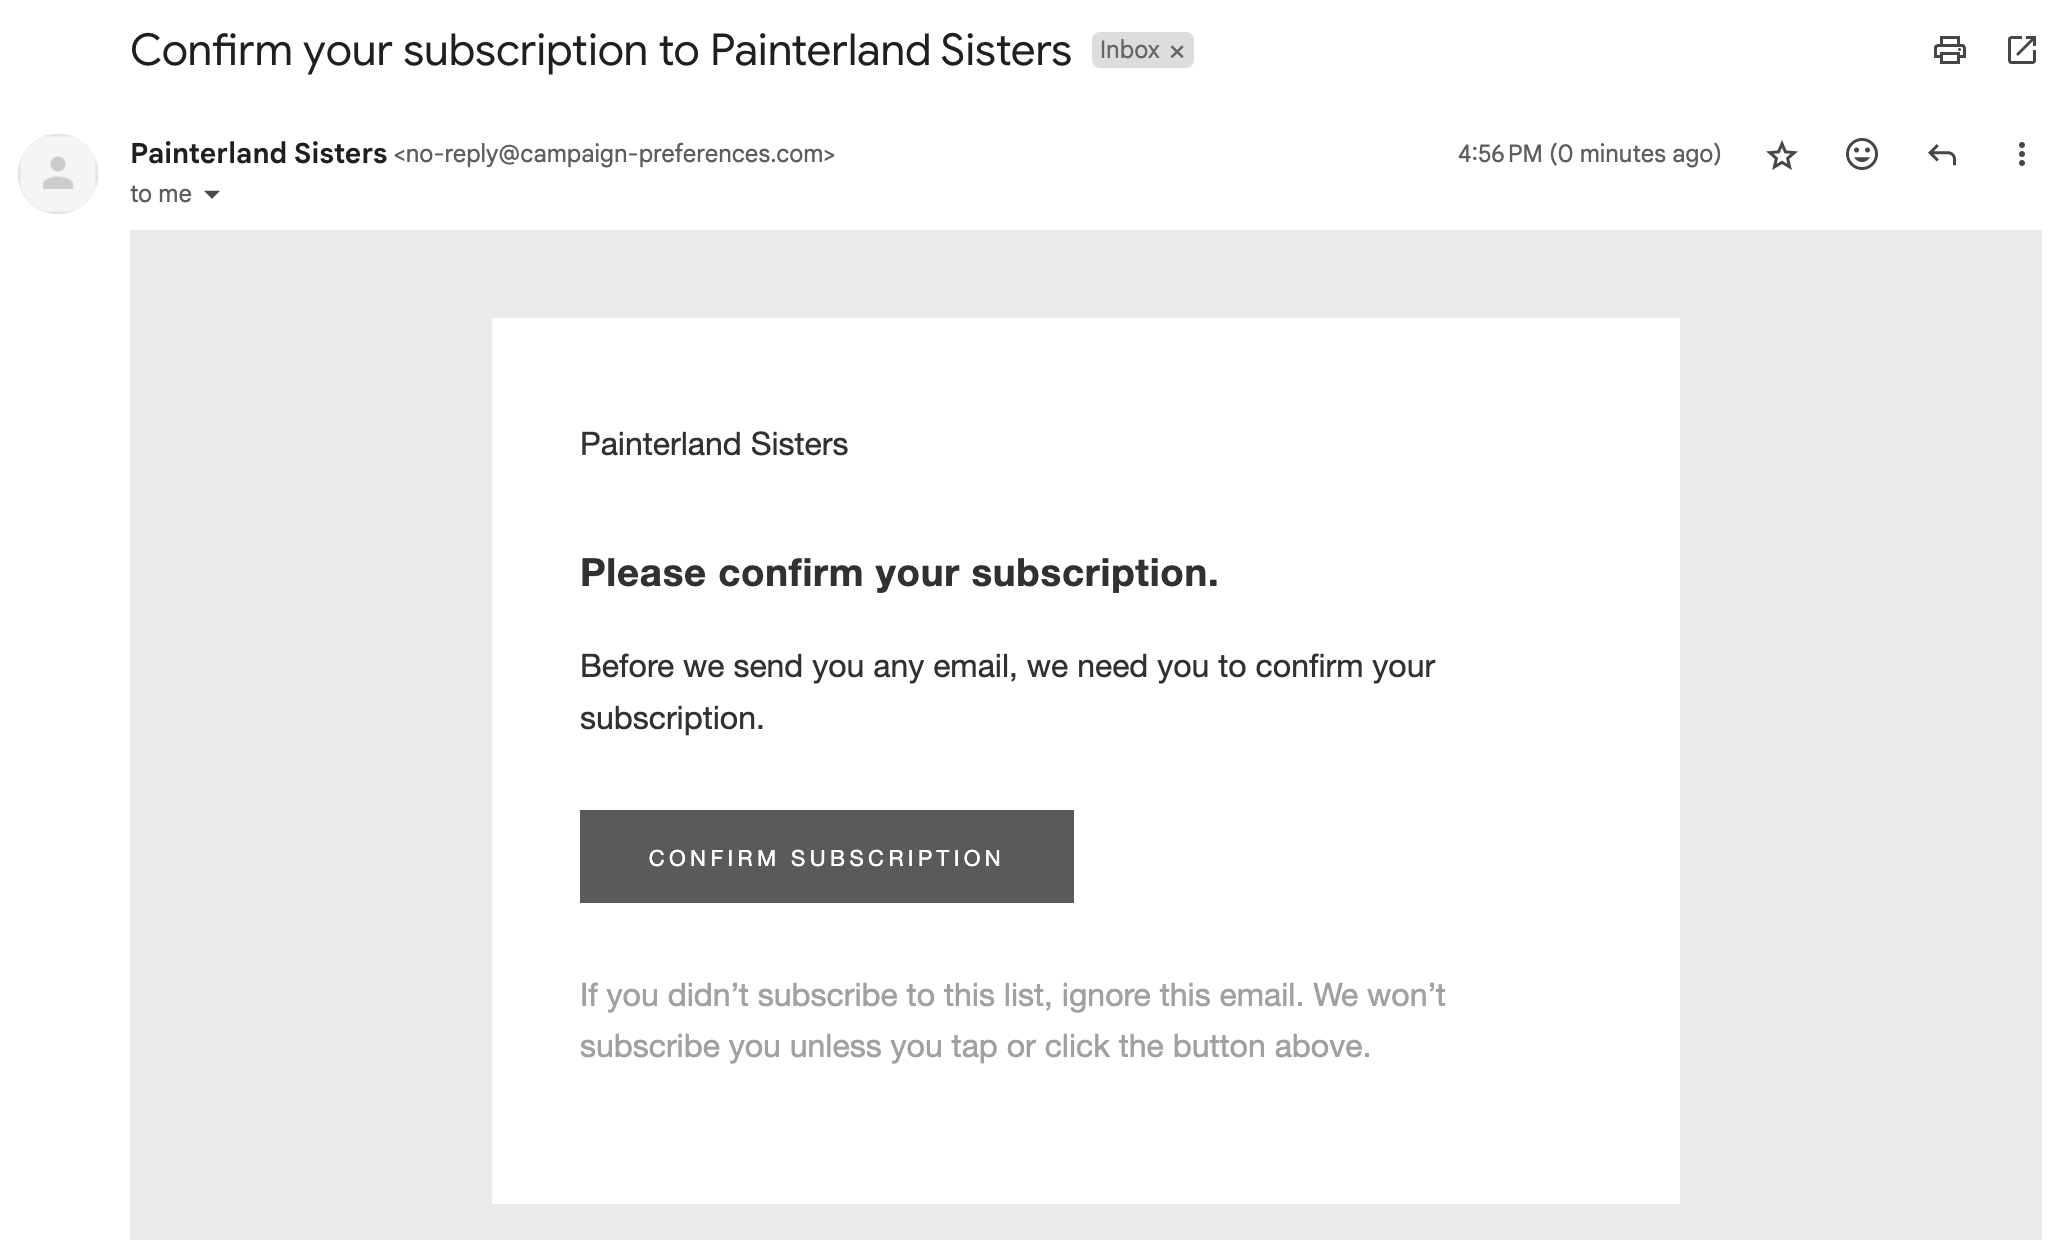
An example of a confirmation email for double opt-in
Opt-in preferences can usually be configured in your email service provider’s audience or sender settings.
Offer Subscriber Preferences
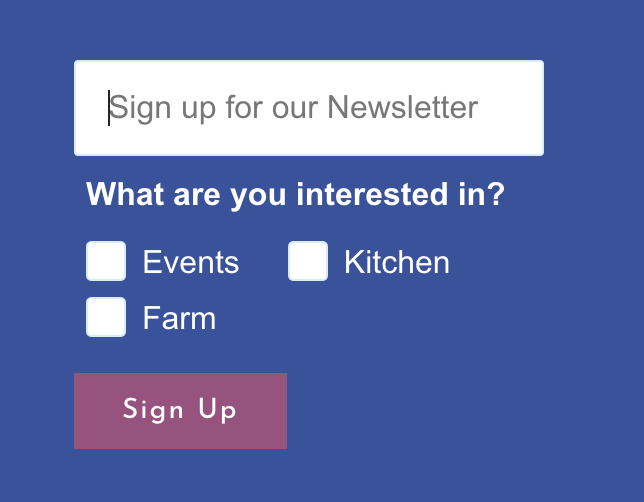
If you’re an email marketing machine and send communications often, consider offering your subscribers a tailored experience by allowing them to choose what types of emails they receive, or how often they receive them. For example, when we worked with Dragonfly Hill Farm on email marketing we segmented the list by allowing their audience to pick and choose which email topics they subscribe to. Offering subscriber preferences can lead to higher engagement and lessen the chance of your emails being marked as spam.
Avoid Spammy Email Subjects
You know the kind, because your own spam folder is probably full of them! Take a look at your spam folder now to get some prime examples of what NOT to do. In general, you should avoid using lots of exclamation marks, all capital letters, and words like free, urgent, guaranteed and act now in your email subject lines. If you want to include information like a free shipping offer, you can do that in the preheader text.
You should also never promise something in the email subject if you’re not going to deliver in the email body—i.e., don’t suggest there’s a free gift in the email if you don’t actually offer a gift (or if the gift comes with a ton of strings attached). You can be compelling in your email subjects while still being honest. And if you’re stuck on what to write about in your email campaigns, check out these content ideas!
Encourage Readers to Whitelist Your Address
To avoid having your emails end up in a subscriber’s spam folder for miscellaneous reasons, it’s wise to encourage anyone who signs up for your newsletter to whitelist your email address, or mark it as an approved sender.
Subscribers can manually whitelist an email address in their email settings. This is often done by adding your email address to their contacts or marking emails from that address as "Not Spam." In your email communications, you can add a link in your footer that subscribers click to download your vCard (virtual contact card) to add to their contact list.
The MailChimp merge tag to add a link to vCard information *|LIST:ADDRESS_VCARD|*
Provide Contact Information
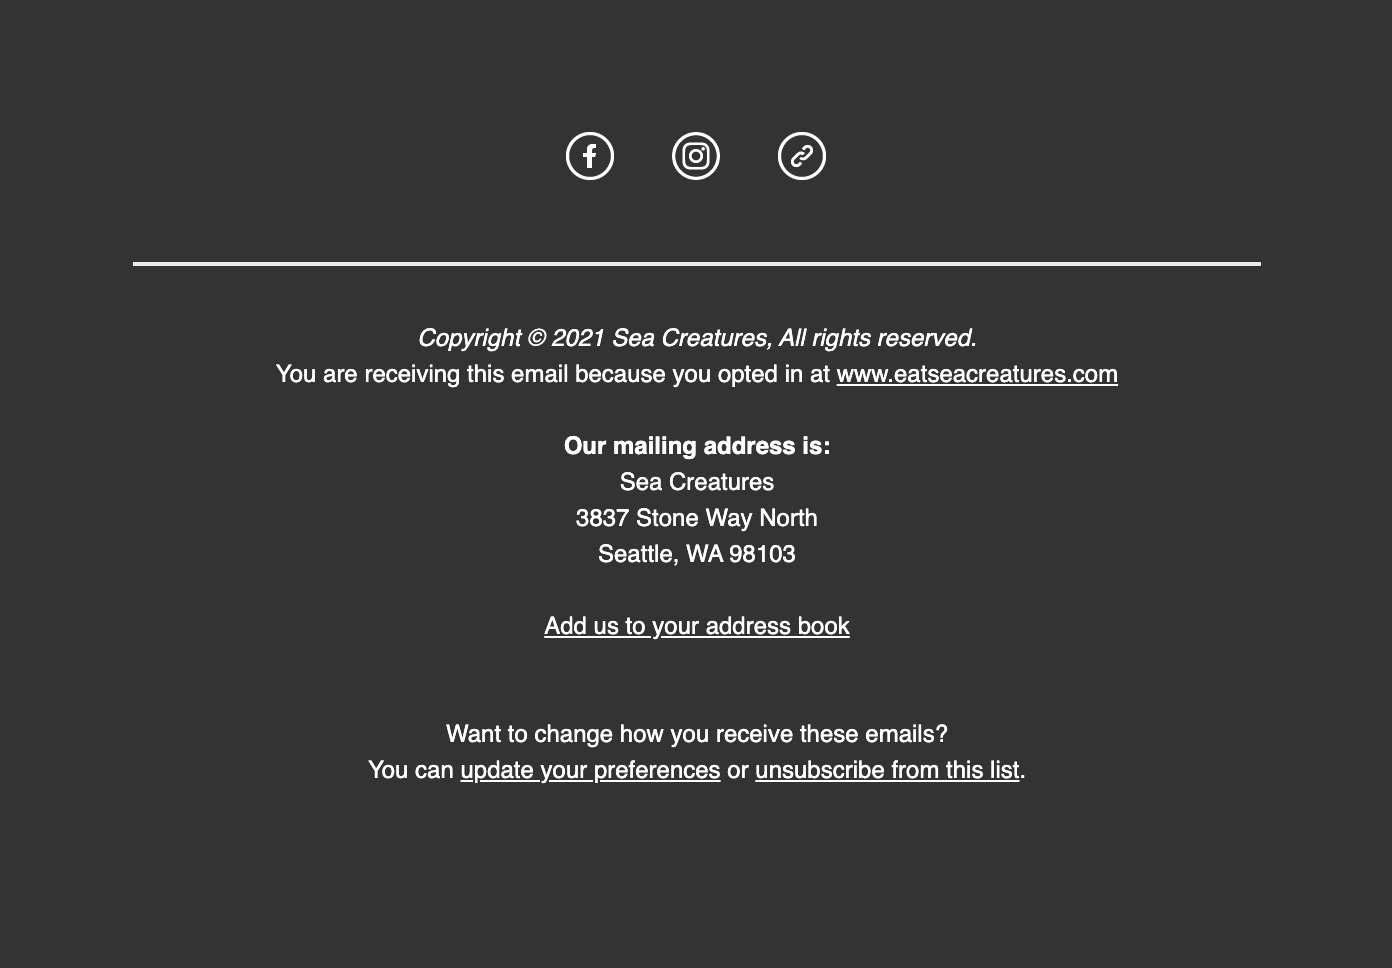
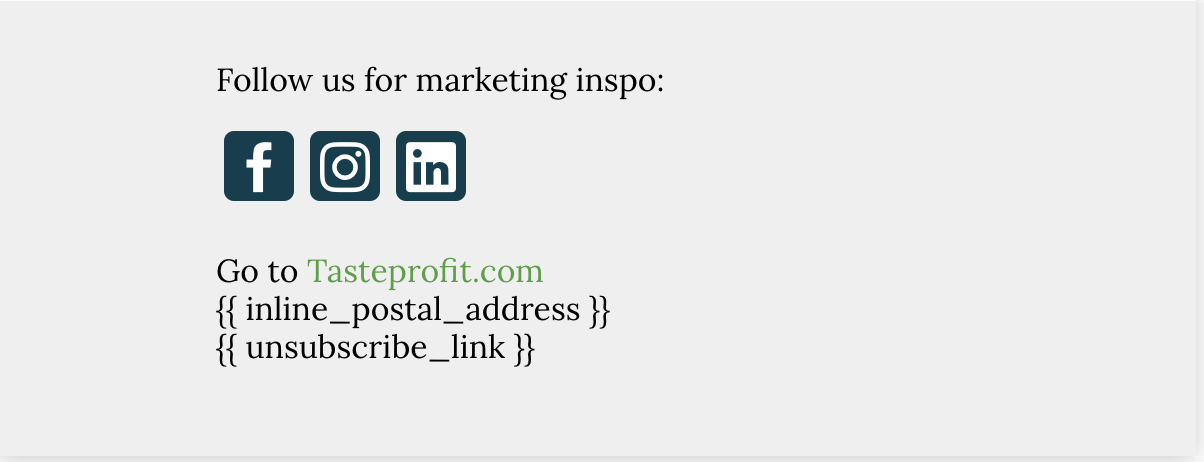
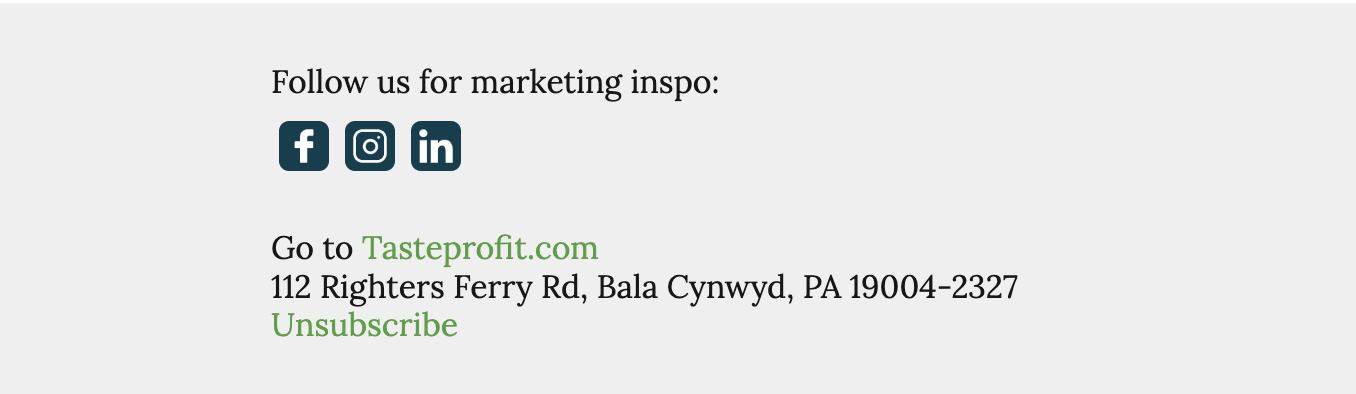
This isn’t a new requirement, but it’s worth repeating that you should always include a valid physical address and contact information in your footer as legally required by anti-spam regulations. This also allows your subscribers to contact you should they have any questions or issues with your marketing communications.
Regularly Clean Your Subscriber List
Make a habit of going through your email list and culling subscribers whose emails have bounced, as well as those who have never or not engaged with your emails in a long time. The more engaged your audience list is, the less likely your emails will be marked as spam. Not only that, but removing unengaged contacts can help save you money on your email marketing subscription.
If you’re not sure who to remove from your email list, you can send a re-engagement campaign that both provides a compelling call to action, such as a one-time discount offer, as well as an easy way for them to unsubscribe if they no longer wish to receive your emails. Which brings us to the last requirement…
3. Make it Easy to Unsubscribe
You should always provide a one-click unsubscribe function in your footer. Check your email service provider’s help articles for the unsubscribe merge tag you can insert into your email footer template to fulfill this requirement. For example:
The unsubscribe merge tag for Mailchimp is *|UNSUB|*
The unsubscribe merge tag for Drip is {{ unsubscribe_link}}
What we see when drafting an email campaign
What a subscriber sees
We’re Here to Help
Some of these tactics have already been a legal requirement, and some have long been considered best practice. Implementing these strategies will not only make you an email marketing pro, but will also ideally result in a more engaged email audience who are hungry for your content—and more!
For more information about the new requirements, see Google’s and Yahoo’s announcements for full details. Still have questions? Learn more about our email marketing services and feel free to get in touch with us at [email protected]!
