
5 Things Your Food Business Website Might Be Missing
February 1, 2019
3 Benefits of Strategic Blogging for Farms & Food Businesses + 7 Topic Ideas
November 23, 2020Why Good Food Photography is Important + 6 Tips to Make Your Photos Pop
In person, great food tends to sell itself. It smells and tastes delicious, and usually even looks amazing up close!
Marketing and selling food online or in other digital spaces, however, is trickier. This is why investing in high-quality food photography is critical.
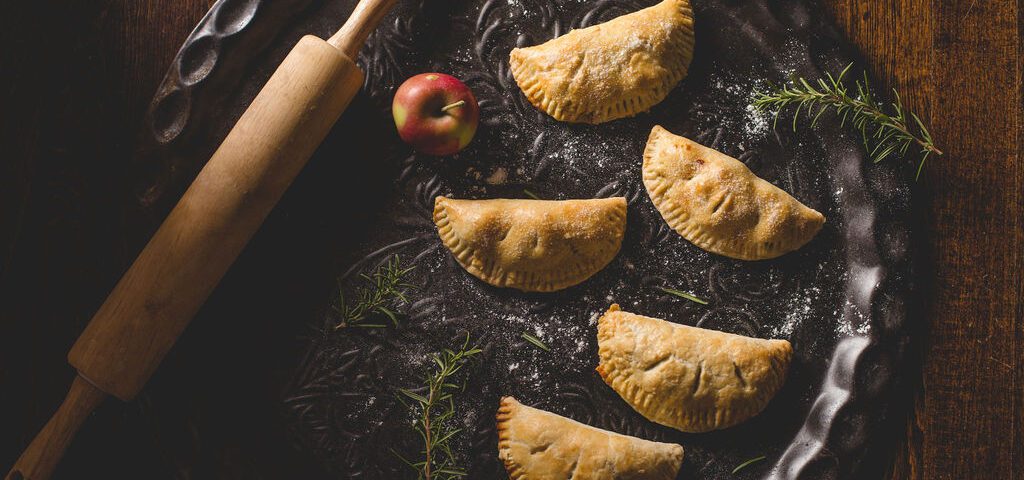
Remember, people can’t sample that warm apple pie baked to perfection, or taste those delectable jams and jellies made with the best local fruits and wines.
Food and beverage businesses need to capture and showcase their products. Consider your product images as an asset that you will have for a long time. They can be used across all of your marketing efforts, including your:
- Website
- Social media
- Printed collateral
- Public relations pieces
- Media and advertising
Stylized photos showing the product in its best light will give customers an idea of how they might be able to use or consume the product in their own daily life. Even basic product photos are important, because they inform the customer about the size, quantity, and packaging of your product.
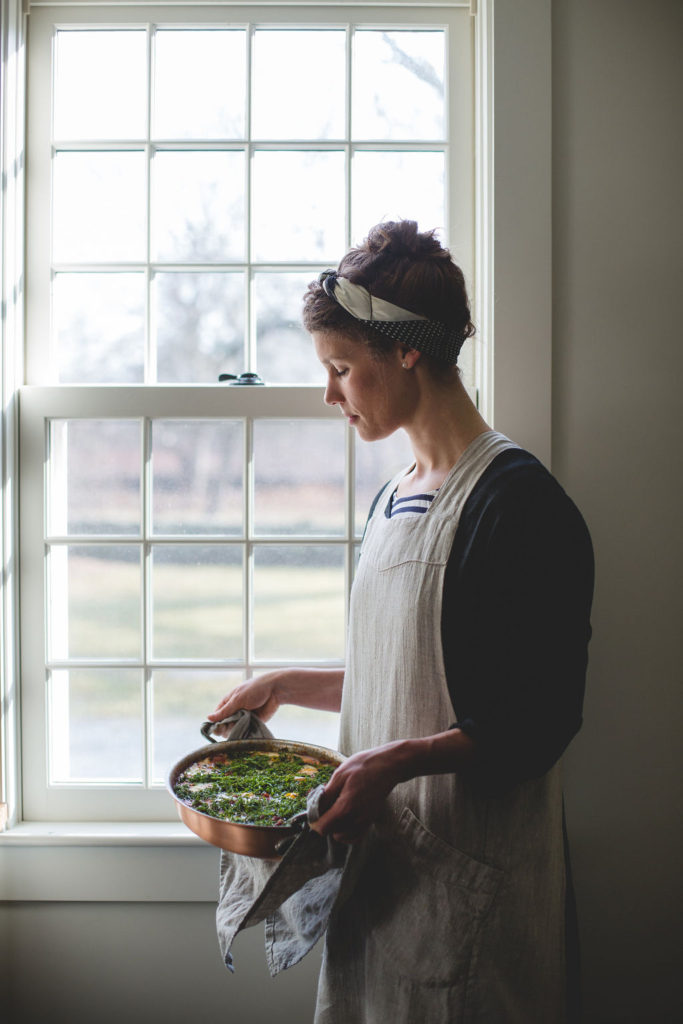
You’ll also want to capture action shots to show the behind-the-scenes operation of your business and who is making the product. After all, a lot of skill, passion, and time go into your delectable creations—which is an important part of your brand story!
Shooting and editing your food images is no easy task. That’s why in this post, we’re sharing what makes a good product photo plus tips to create your own.
What Makes Good Food Photos?
While it is subjective, good quality images are generally:
- Not blurry (i.e., shaky camera or poor focus)
- Have been color corrected (e.g.: not too yellow from mixed lighting)
- Give a clear idea of what is trying to be captured.
This goes for your product, brand, and setting. What do you want customers to think and feel when they see pictures of your food?

For a small business, the focus should be on what you are trying to get your customers to purchase or be excited about. You want to make sure the subject of the image is shown at its best. The best way to do this? Use your product photos to illustrate a story about your food, beverages, and/or wholesome ingredients!
6 Crave-worthy Tips for Beautiful Food Photography
Now that you have a starting point of what makes great food photography, we’ll explore some tips and techniques for achieving just that.
Step 1: Plan the Photoshoot
Every product shoot should be well-planned and thought out with your end goals in mind. Where and how will these photos be used? Are they primarily going on your website as standard product shots, or will they be used across all media? Thinking through these questions can help you determine factors like the orientation and composition of the photos, their size and resolution, and what equipment you’ll need to achieve them.
Once you have those questions answered, it’s time to start the planning process.
1a: Choose a Shoot Location
First, decide where the shoot will take place. This could be:
- Outside
- In a kitchen
- In a studio
The shoot location will determine what other types of equipment and props you will need. For example, you’ll need to prepare for varying weather and sunlight for outdoor shoots.
1b: Create a Shot List
Next, plan what shots you want to capture to set yourself up for the most efficient shoot possible. Keep this list with you and stick to it!
The most common types of product photos that food businesses need include:
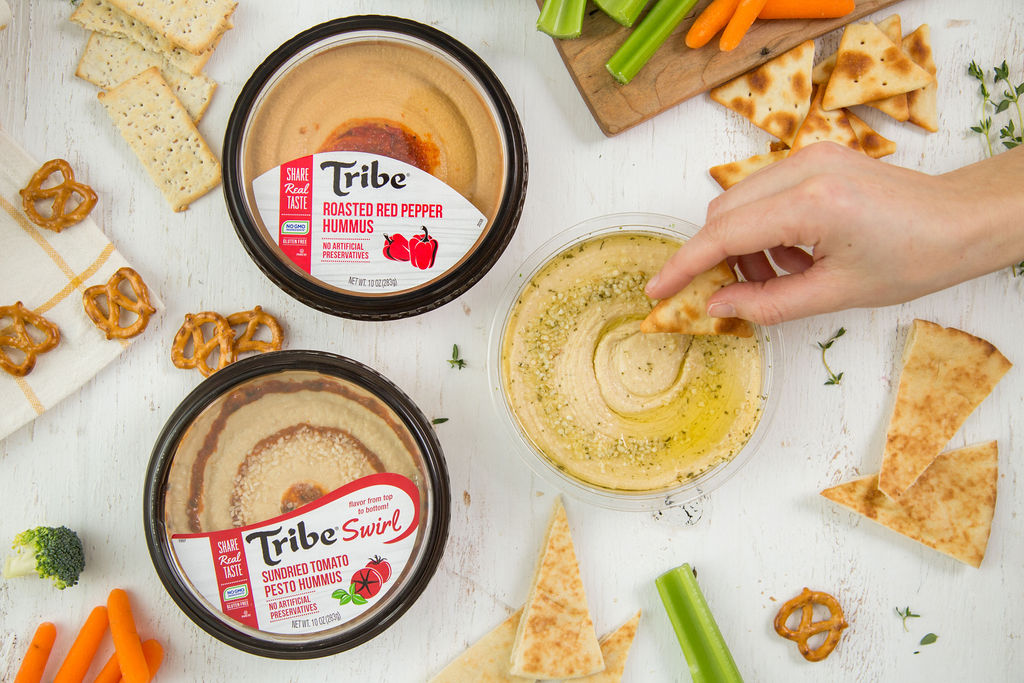
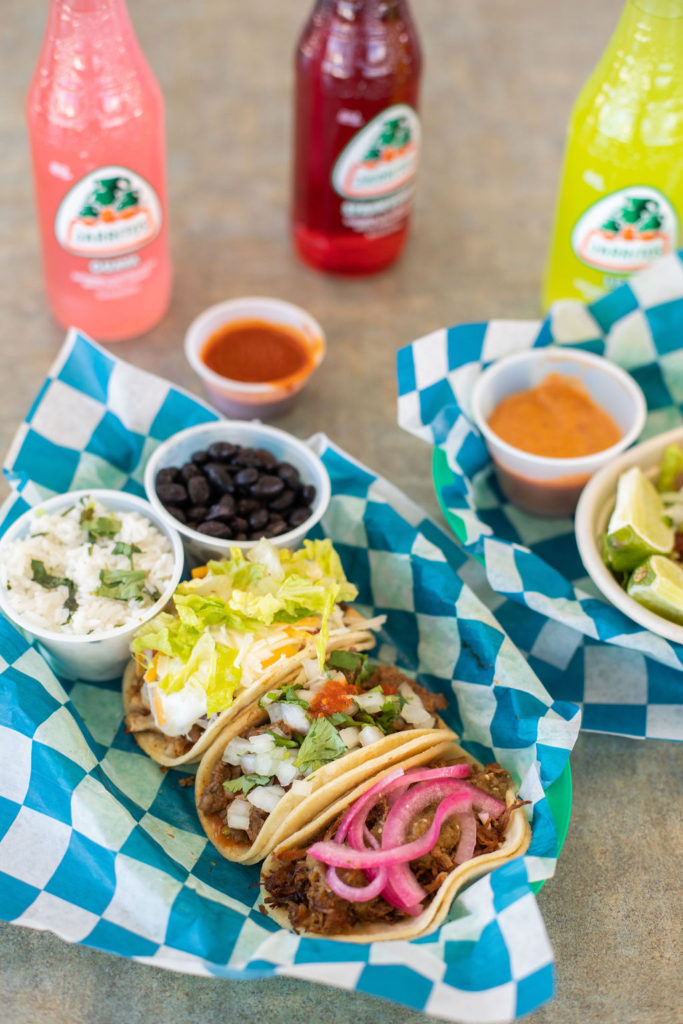
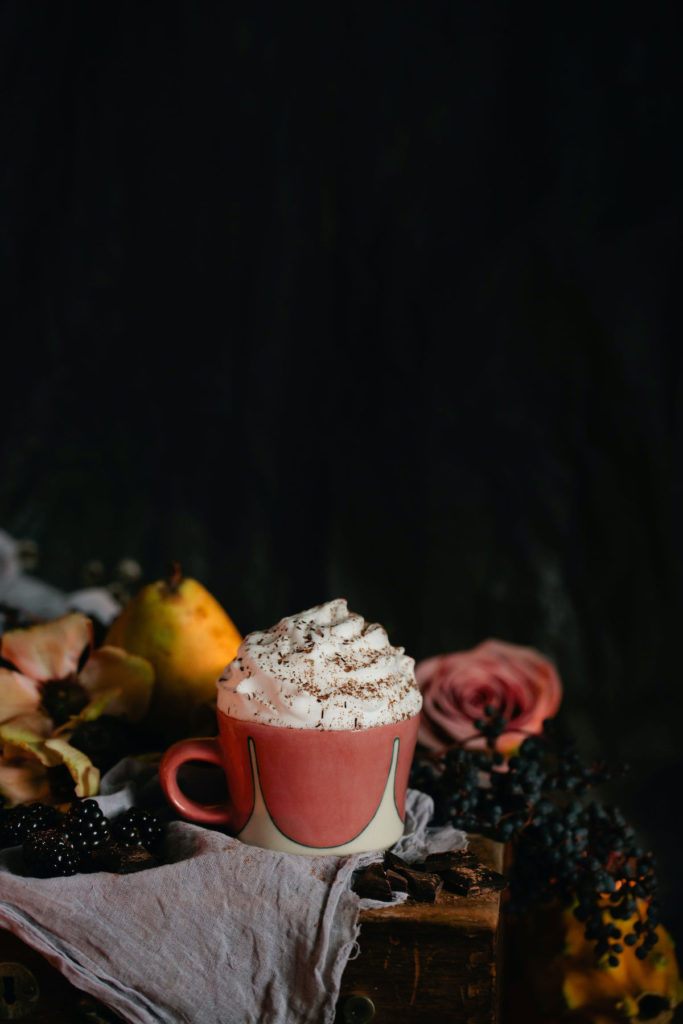
- Beauty Shots (a.k.a. Hero Images): Highly stylized photos that can be used on your website’s homepage or in printed materials. These shots evoke certain feelings and are usually supported with props to create a scene. The food is typically styled in a way that creates context.
- Product Shots: Plain shots of the product on a clean white background. These are used for things like website listings.
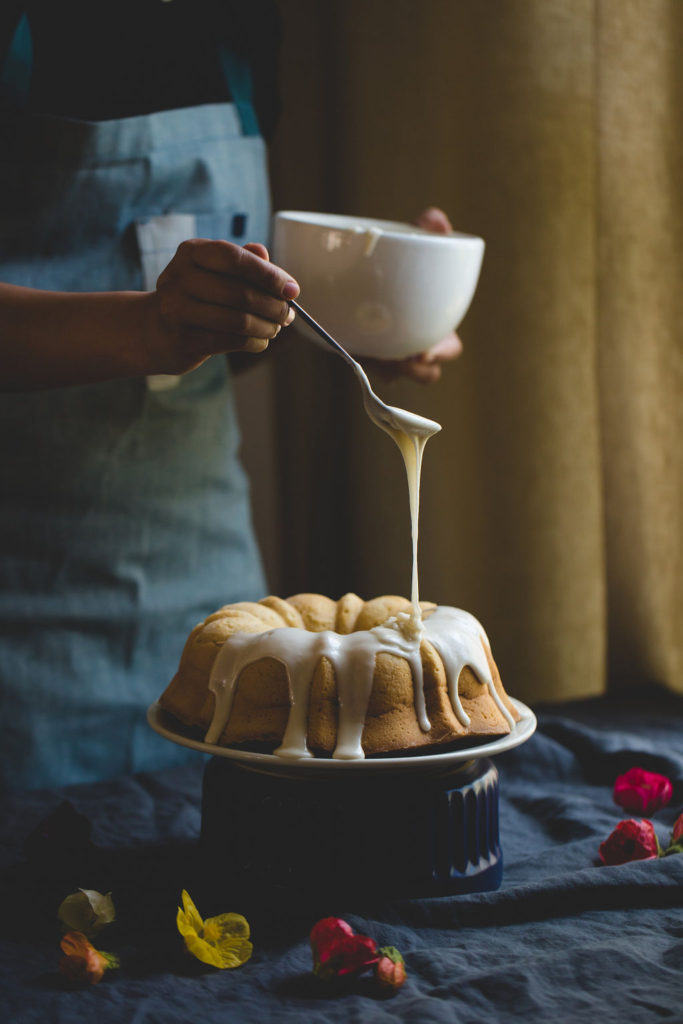
- Process Shots: Action shots showing the product being made. These behind-the-scenes photos are great for brand-building and connecting with customers.
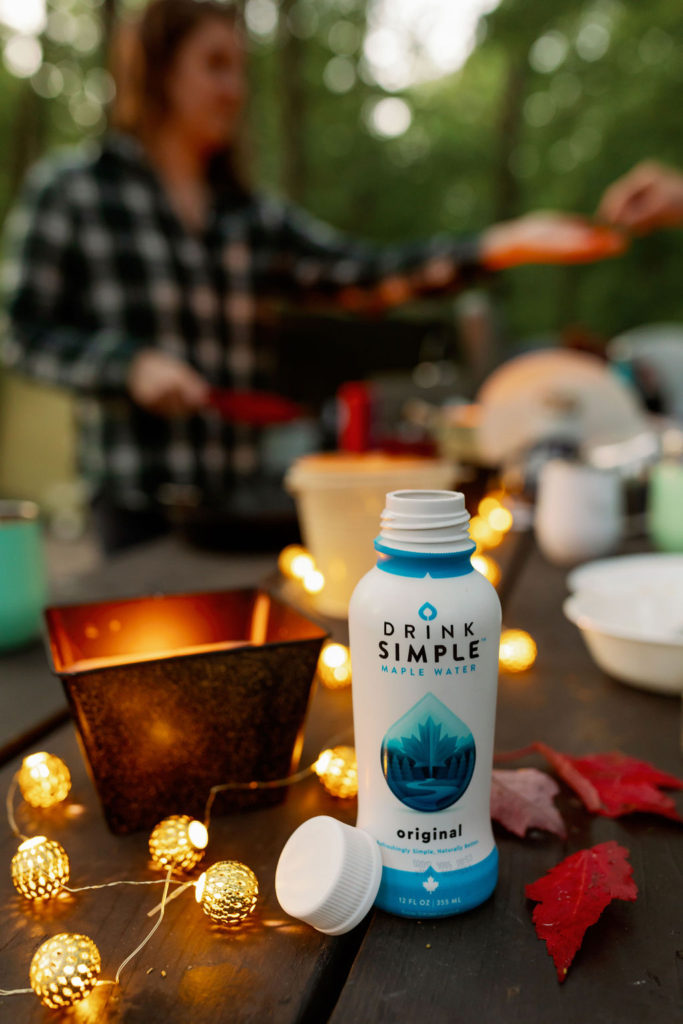
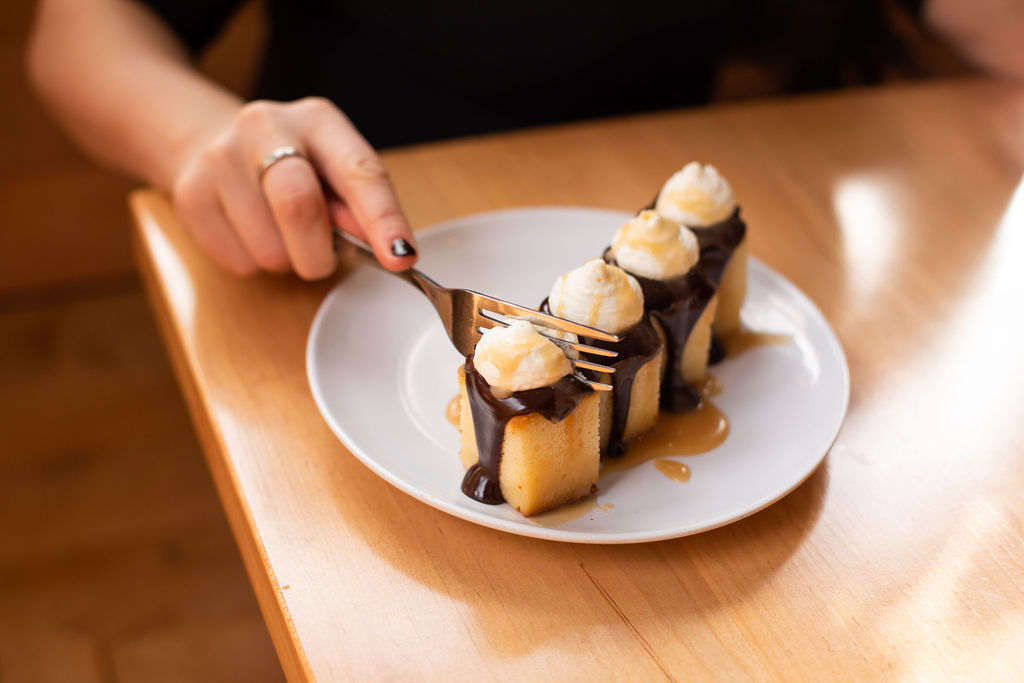
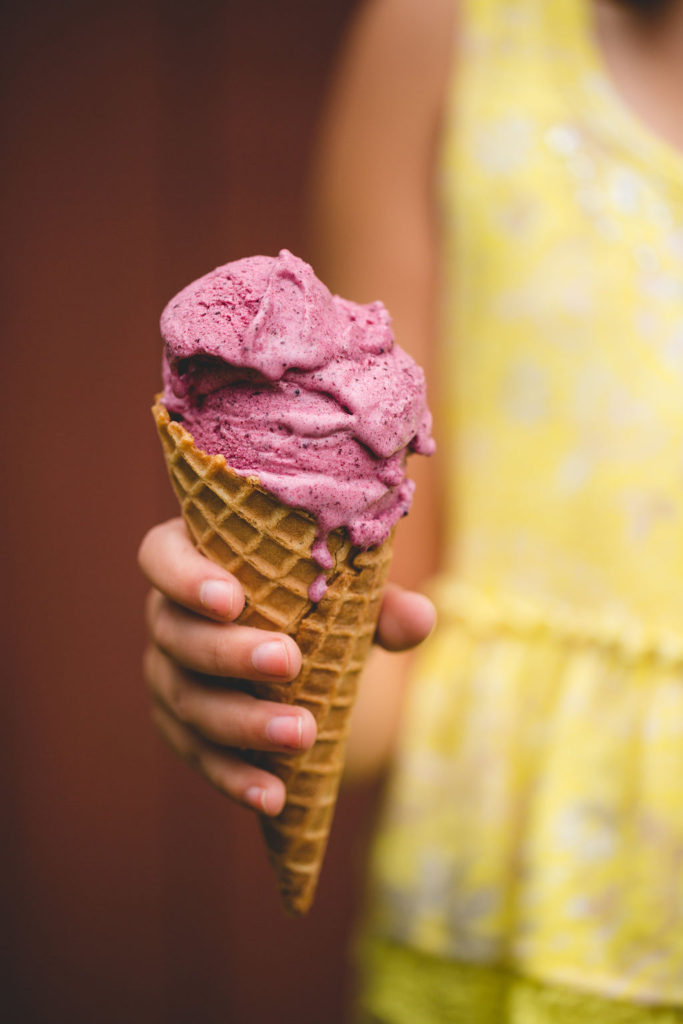
- Lifestyle Shots: Photos of people enjoying the product. This could include models dining or attending a gathering with the product at the center.
- Headshots: Professional photos of the people behind the product.
- Holiday/Promotional Imagery: Seasonal or targeted photos intended for specific campaigns and usage.
- Interior/Exterior Shots: Photos of the business (if applicable). This is important for establishments like restaurants, who want to convey a certain atmosphere and drive foot traffic.
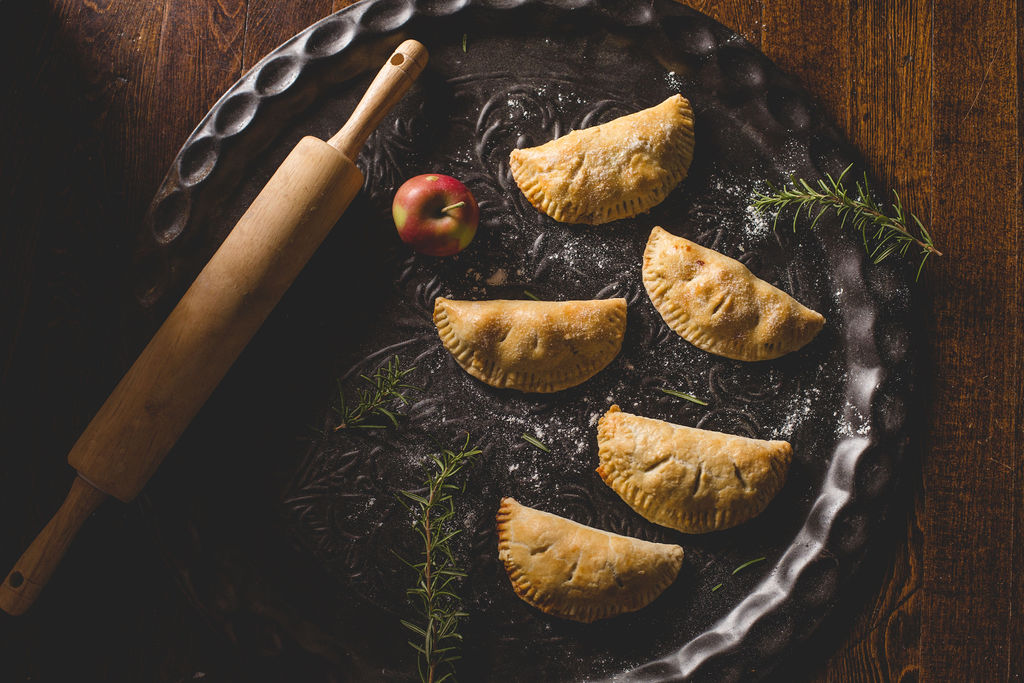
1C: Determine Props & Supplies Needed
Determine everything you need for the photoshoot. This includes:
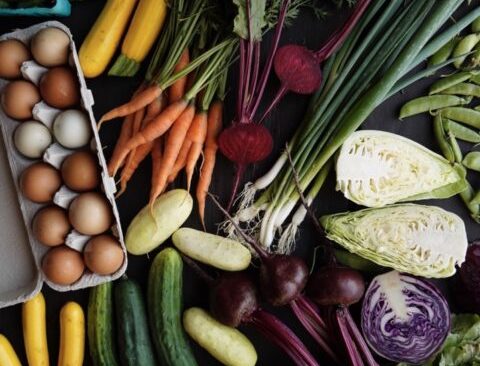
- Products: Does food have to be made and prepared beforehand? Are there multiple flavors, varieties, and/or sizes you need to capture?
- Props: Consider what flavors and feelings you want to evoke, then choose your surrounding props based on that.
- Models: Your photoshoot might include shots of your team making the food or people enjoying the food.
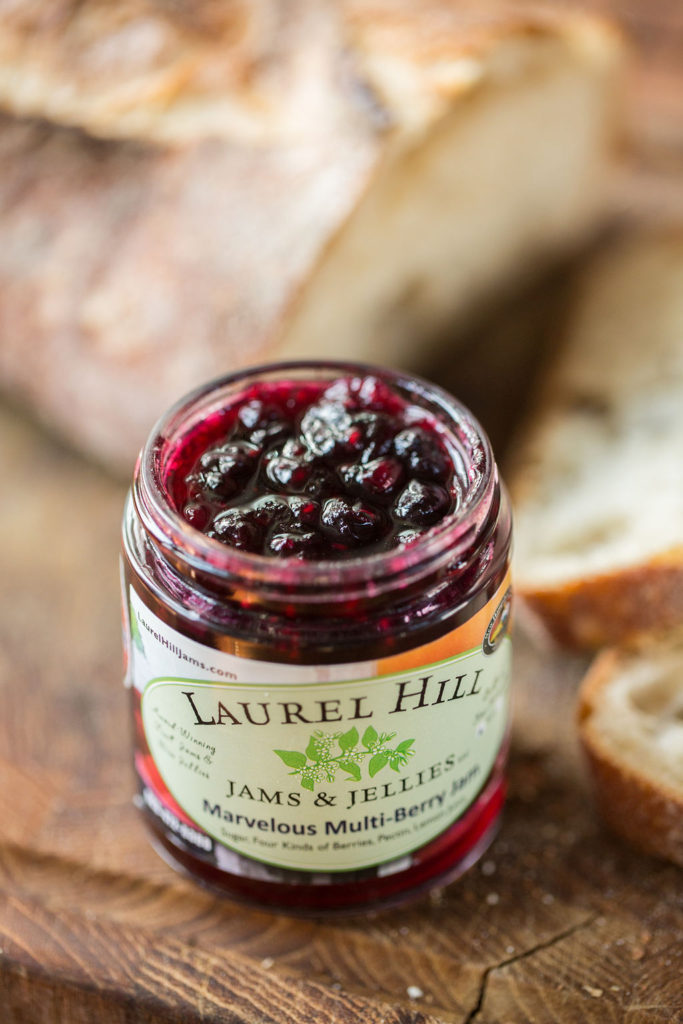
Step 2: Define Flavor & Story Cues
Have you ever seen a photo of chocolate and immediately find your mouth watering, practically tasting the rich cocoa on your tongue?
Stylized photos of food and drink, when done well, create subconscious triggers of what flavors someone can expect when they enjoy the product.
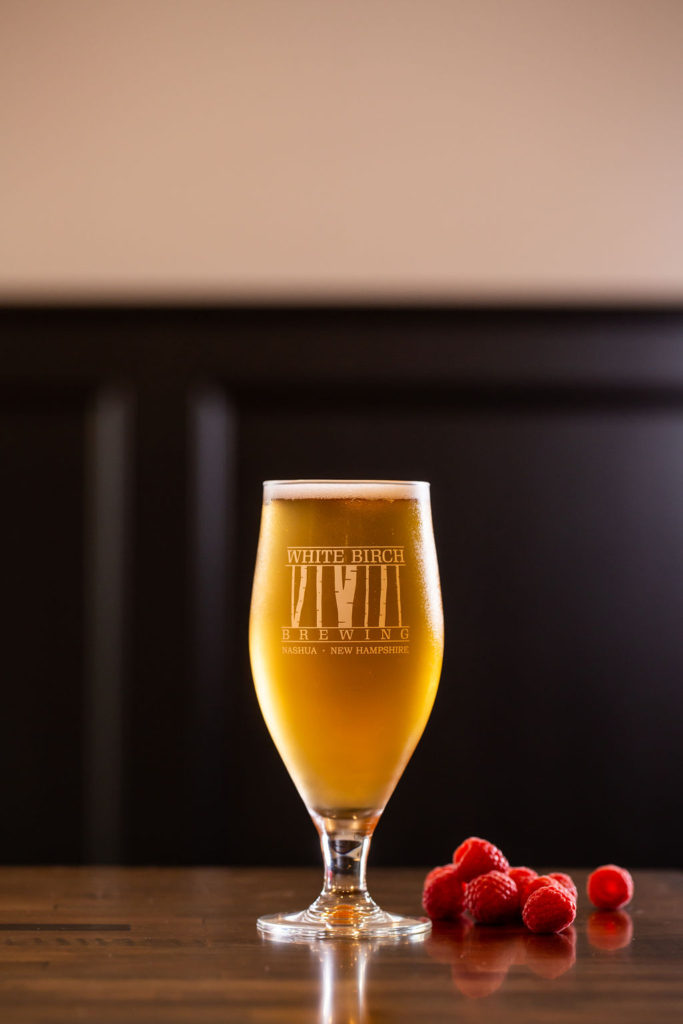
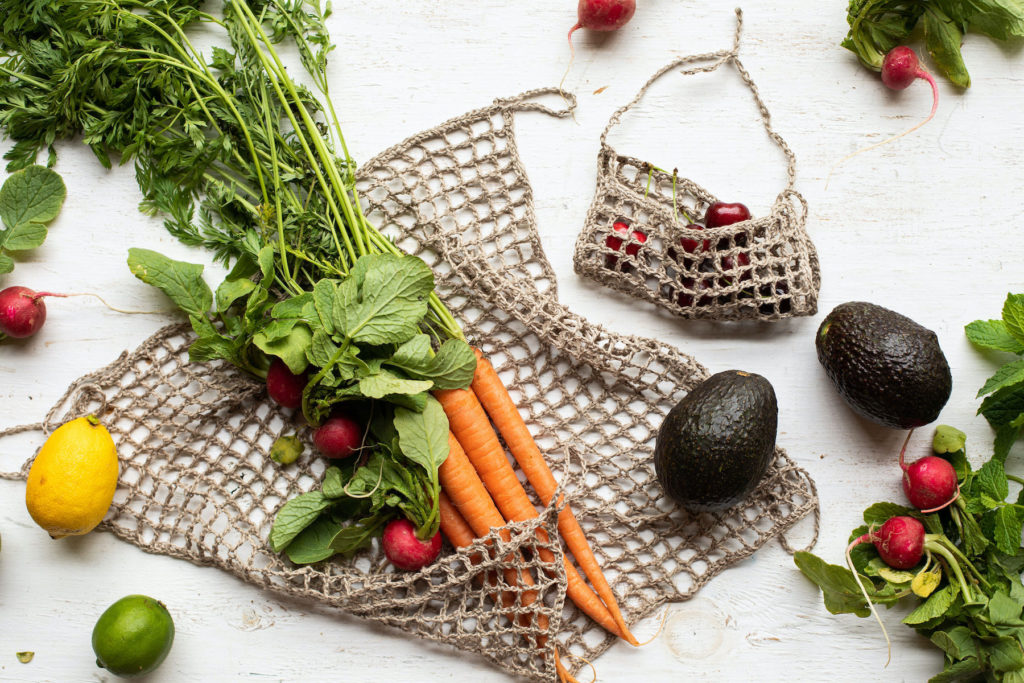
Flavor cues can be as simple as hints to what is in the product. For example, you might place raspberries next to a product that has raspberry flavoring, or have the berries blurred in the background. People’s minds will pick up on this and get an overall idea of what the product is and tastes like.
This is where the effective use of props comes in.
You can create a ‘scene’ or ‘feel’ using props like linens and dishware that make sense with the product. This can be done with a few simple items and touches to hint at how the product could be used or consumed. On the other hand, you can get very detailed with many different items.
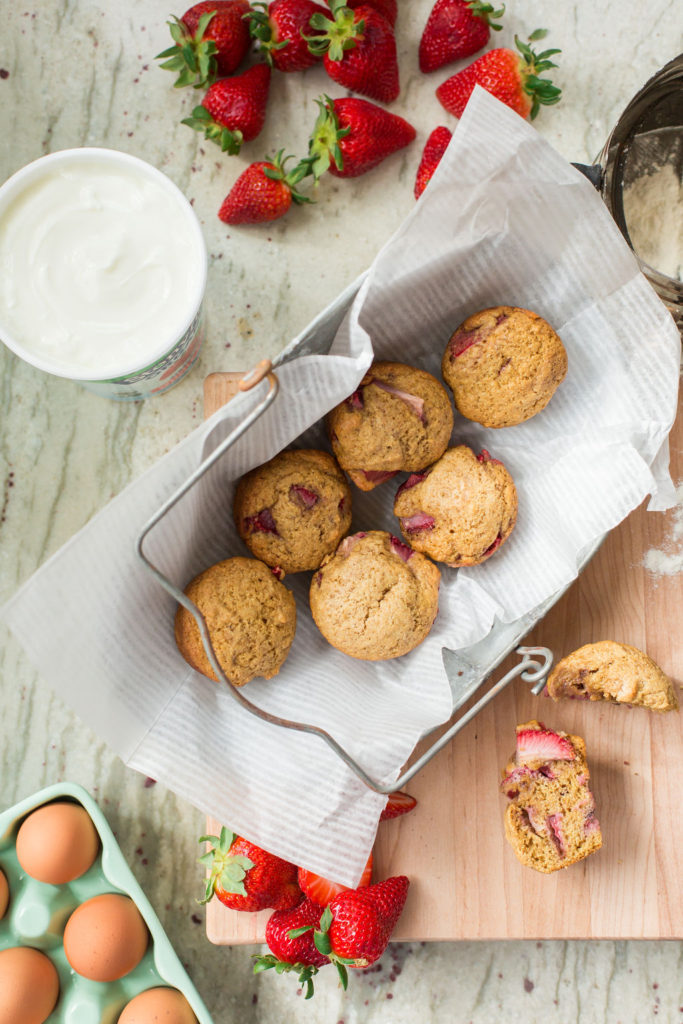
Surround the hero (i.e., the subject of your photo) with props such as:
- Ingredients
- Sauces
- Oils
- Cooking utensils
- Dishes
- Linens
These items can indicate intangible details like the history of the food or the season in which it is served.
While props are important to telling the story of your products, you don’t want them to steal the spotlight from your hero. Place the props in the foreground and background and position them subtly. They can even be blurred to ensure focus on the photo subject.
Step 3: Style Your Products
Your product should be thoughtfully presented for the photos. You’ll want to consider things like the way the food is cut and arranged, as well as the number and size of the items. Also make sure you’re using the freshest, most presentable food. This will come across in your photos!
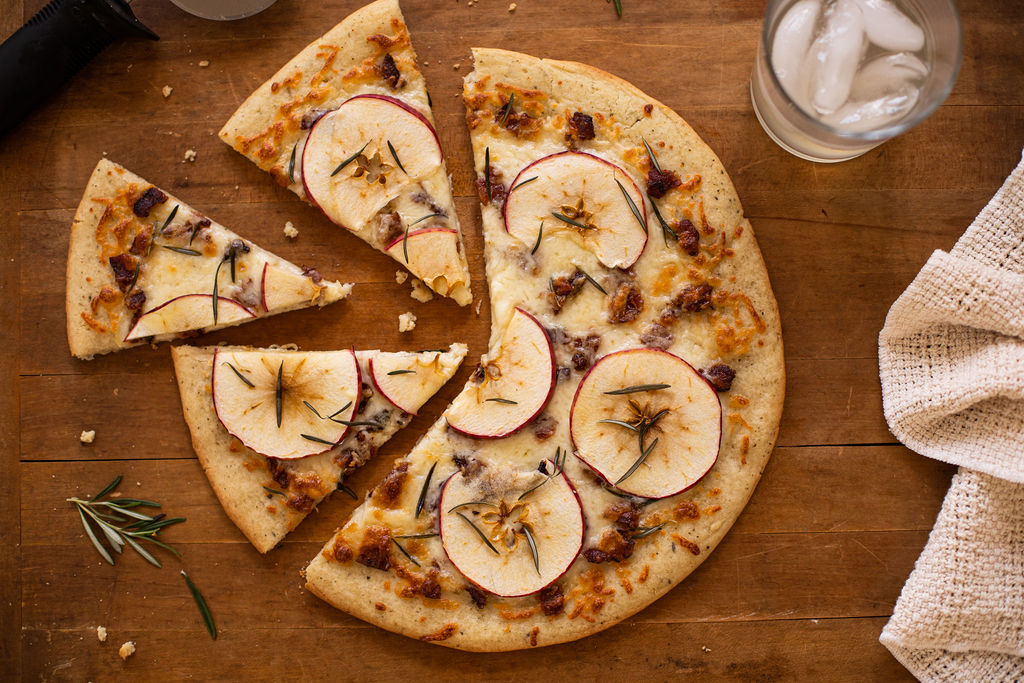
The other important side of styling your food photos is the composition. Use your props and ingredients to create lines and layers, framing the product. This is how you can add texture to your photos and draw your audience’s eyes right where you want them: on your product.
Whether you’re shooting from above or directly in front of the products, the composition is essential to capturing interesting photos that tell a story and focus on the hero.
Step 4: Choose an Angle
The angle all depends on what the product is, how it responds to light, and what shape it is. This can take some playing around or trial and error to decide which angle works best for each product.
Straight-on shots with white or plain backgrounds are generally best for e-commerce, whereas different angles may be used in stylized images. Some foods and dishes look best when shot from above, while others are best captured from the front.
Consider the shape, size, and details of your product. What features or ingredients do you want to highlight?
Step 5: Set Up Your Lighting
Soft natural light is ideal, as it won’t create overexposure or harsh shadows. It’s also easier to edit.
Our tip: Find a north-facing window or one that isn’t getting direct sunlight. Set up a table and a surface. Use a white card to bounce light and soften shadows if needed. Turn off all overhead lighting and see what you can get!
You can use foam core boards, found at any craft store, to create your white cards. And if you can’t find a window with indirect sunlight, you can always use a diffuser—or make your own with a thin white bedsheet—to soften the light and shadows.
If natural lighting isn’t an option, you may need to invest in artificial lighting. A high-quality light and softbox can go a long way in helping you achieve natural-looking light. This simple setup makes it easy to capture the perfect side-lit or backlit photos, the most common lighting directions in food photography.
The light should focus on your subject to draw eyes right to it. If you accidentally spotlight a prop or another item, it will distract viewers from the main subject.
Step 6: Edit Your Photos
Once you feel you have a good selection of shots, it’s time for the fun part: review and editing!
It’s helpful to start by narrowing down your photo options. Get rid of anything blurry or lit incorrectly and keep the photos that show the product at its best.
For editing, keep it simple when it comes to food photography. You can color correct and white balance your images, but don’t use any crazy filters because you want your food to look natural and appealing. If you have Photoshop skills, you can use it to “clean up” dust or crumbs in your shot.
Your Food Photography Matters
When customers can’t taste your food immediately, quality food photography can create a sensory experience. It gives your audience an idea of the flavors, shows them how to use and/or consume your products, and connects them to your brand.
Keep in mind that your product photos are an investment, and not a piece of your marketing to skimp on. Our tips for food photography above are a great place to get you started and help you tell a story about your products and brand.
If you feel that you’d be best leaving it to the professionals, let’s chat! Contact Taste Profit Marketing today to learn more.